Emergency Kit on a Budget: Start With What You Own
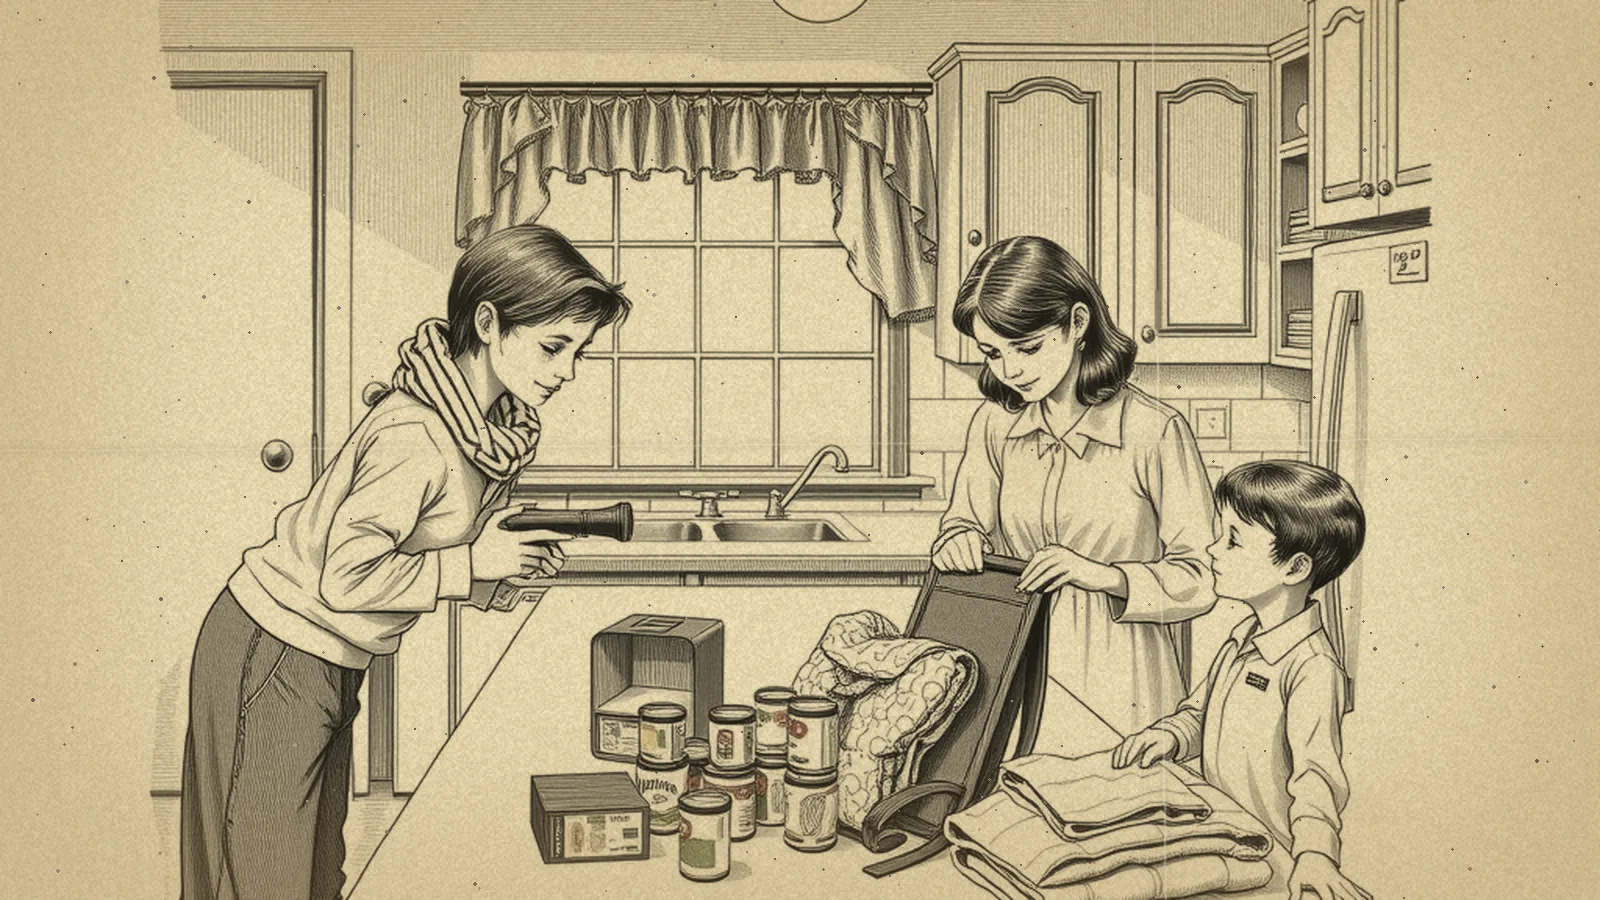
You can build an emergency kit on a budget by starting with what's already in your home, then adding a few items each month in order of importance: water, food, light, a radio, first aid and medicines. Most of a good kit is ordinary household stuff gathered into one place. The rest can come together over several months of small, steady purchases.
Our Emergency Kits section covers every kind of kit, and the complete Ready.gov basic list is on the 72-hour kit page. Use that list as your target. This page is about getting there without strain.
Step one: the free scavenger hunt
Before you spend anything, walk through your home with a bag or a bin and pull together what you already have. Many households find a good part of a kit this way.
- Flashlights and spare batteries from the junk drawer
- A first aid kit, or bandages, gauze, tape and pain relievers from the medicine cabinet
- Blankets, sweaters, a rain jacket and sturdy shoes
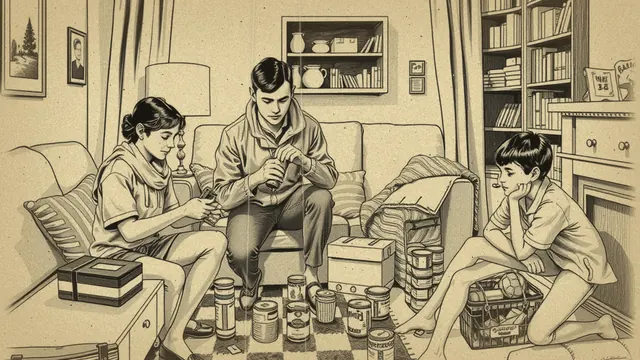
- Canned and boxed foods your family already eats
- A manual can opener
- A whistle (sports, camping or even a toy one that's loud)
- Duct tape, plastic sheeting or a painter's drop cloth
- Garbage bags, wipes, hand sanitizer, toothbrushes from the dentist
- A wrench or pliers that can turn off utilities
- A phone charging cable and a car charger
- Old backpacks or a duffel bag
- Paper maps of your area, often free at visitor centers
Put everything in one spot. Congratulations: you've started a kit.
Step two: decide what you're building
A full go-bag for every person and a two-week home supply is a great long-term goal, but it's not where a tight budget starts. Pick one target:
- First goal: a basic home kit for three days
- Next goal: a light go-bag for each person
- Later goal: a longer home supply of water and food
Working on one goal at a time keeps the cost of each step small and gives you a finish line you can actually reach.
The six-month build
Here's a sample plan for a family of four renting a two-bedroom home. Each month has one focus and a short shopping list. Spend what you can; skip ahead or slow down as needed.
| Month | Focus | What to add |
|---|---|---|
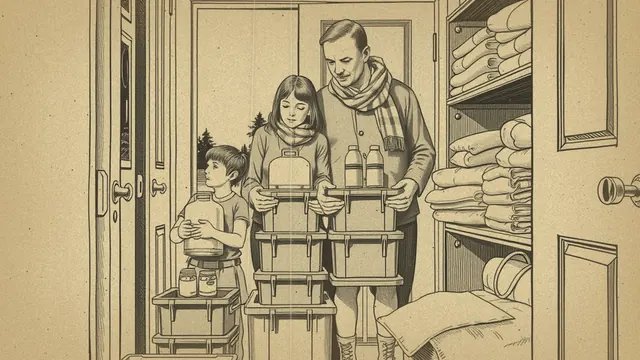
| 1 | Water | Clean, food-grade containers filled from the tap, or a few cases of bottled water when on sale |
| 2 | Food | Extra cans and boxes of foods you already eat, bought a few at a time with regular groceries |
| 3 | Light and power | Headlamps or flashlights for each person, batteries, a phone backup battery |
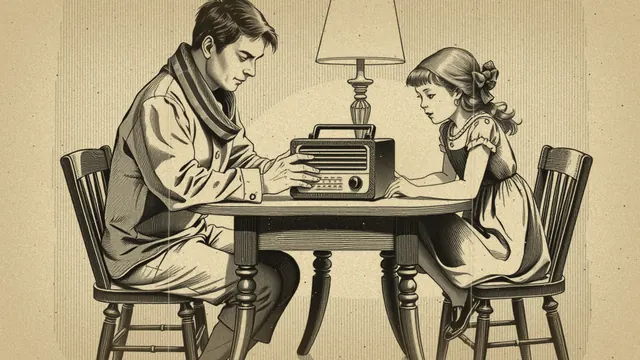
| 4 | Information | A battery-powered or hand-crank radio with NOAA Weather Radio |
| 5 | First aid and hygiene | Fill gaps in the first aid kit, extra prescriptions if your doctor and insurance allow, hygiene items |
| 6 | Bags and paperwork | Go-bags from thrift stores, a binder with copies of key documents |
Water comes first because people need it most and it's the cheapest thing to store. Plan on at least one gallon per person per day; for this family that's at least four gallons a day. Our guide to how much water to store has the full math, and tap water in clean food-grade containers costs very little.
Money-saving moves that actually work
- Buy what you eat. Stocking foods your family already likes means nothing goes to waste. Rotate them into regular meals.
- Add one extra. Each time you shop, add one can or box to the kit pile.
- Watch for seasonal sales. Batteries, flashlights and water are often discounted around the start of hurricane season and before winter.
- Shop secondhand. Thrift stores and yard sales are good for backpacks, blankets, camping lanterns and wool sweaters.
- Share bulk buys. Split large packs of batteries or water with a neighbor or relative.
- Check community programs. Some local emergency management offices, utilities and community groups hand out free kit items at preparedness events.
- Ask for kit items as gifts. A headlamp or radio makes a practical birthday present.
For more ways to stretch your money across your whole household plan, our guide to prepping on a budget covers free steps, priorities and small weekly buys.
Where not to cut corners
Some items are worth getting right:
- Medicines. Talk to your doctor and pharmacist about keeping a small extra supply and whether your insurance allows early refills.
- Carbon monoxide alarms. If you'll ever use a generator or fuel-burning heater, a battery-operated or battery-backup CO alarm matters. Never use a generator, grill or camp stove indoors.
- Water containers. Use food-grade containers, not old milk jugs or containers that held chemicals.
- A reliable radio. It's how you'll hear official instructions if phones and power are down.
That last one deserves a closer look. Our emergency radio guide explains which features matter, so you can choose a basic model that does the job without paying for extras you'll never use.
Skip these
- Expensive pre-made "survival" bundles padded with things you already own
- Freeze-dried meal buckets your family has never tasted
- Gadgets sold with countdown timers, scary videos or claims they'll "guarantee" your safety
- Anything you'd need special training to use
Fear-based marketing is designed to make you spend fast. Our list of preparedness red flags can help you spot those pitches and take your time.
Small spaces, small budgets
If you're in an apartment, budget and space often go together. Smaller, steady buys suit tight storage. Our apartment emergency kit guide shows how to tuck water and supplies under beds and on closet shelves.
Protect what you've built
A kit you can't use is money lost. Store food in a cool, dry place, keep batteries out of devices until needed (or check them often), and eat and replace food before it expires. Our guide to maintaining your kit has a simple twice-a-year routine that keeps your supplies fresh and your spending low.
Your first step today
Do the scavenger hunt. It takes about half an hour and costs nothing. When you're done, write down the three biggest gaps, and make the first one next month's focus. A kit built slowly is still a kit, and every step makes your household more ready than it was.
Want a guided preparedness plan?
Some people like the structure of a paid guide. This button opens a third-party survival or preparedness program from one of our advertising partners. Its claims are its own, not ours, so weigh them against our red flags checklist.
See the partner program →We may be paid when you click. The program shown can change. Read its terms before you buy anything. How this works
Frequently asked questions
What is the cheapest way to build an emergency kit?
Start by gathering what you already own, like flashlights, a first aid kit, blankets and canned food. Then fill gaps a few items at a time, putting water and food first, and fill clean food-grade containers with tap water instead of buying bottled.
What should I buy first for an emergency kit?
Water and food come first, followed by light, a battery-powered or hand-crank radio, basic first aid supplies and any medicines you rely on. Those cover the needs that matter most in most emergencies.
Are pre-made emergency kits worth the money?
Some are a convenient start, but many include items you already have or low-quality filler. Compare the contents to a basic checklist, and remember that a kit you build yourself can match your family's real needs.