How to Dehydrate Food for Storage
To dehydrate food for storage, slice it evenly, pretreat it if the recipe calls for it, dry it at low heat with steady airflow until no moisture remains, then pack it in airtight containers in a cool, dark place. A food dehydrator makes this easiest, but an oven can handle small batches. Meat needs extra care, so jerky should always follow a tested recipe.
Drying is one of the oldest ways to keep food, and it fits neatly into the rest of our Food Storage section. Dried food is light, takes up little space and needs no refrigeration, which makes it handy for both a pantry and a grab-and-go bag.
What dries well (and what doesn't)
| Dries well | Tricky or not recommended |
|---|---|
| Apples, pears, bananas, peaches, berries, grapes | Avocados and olives (too much fat) |
| Carrots, peas, corn, green beans, onions, peppers | Dairy, eggs and cheese at home |
| Tomatoes, mushrooms, zucchini, sweet potatoes | Fatty meats and sausages |
| Fresh herbs | Anything already starting to spoil |
| Lean beef, venison, turkey breast (as jerky, with a tested recipe) | Foods packed in oil or sauce |
Fat doesn't dry; it turns rancid. That's why lean cuts and low-fat produce are the best choices for home drying.
Dehydrator vs oven
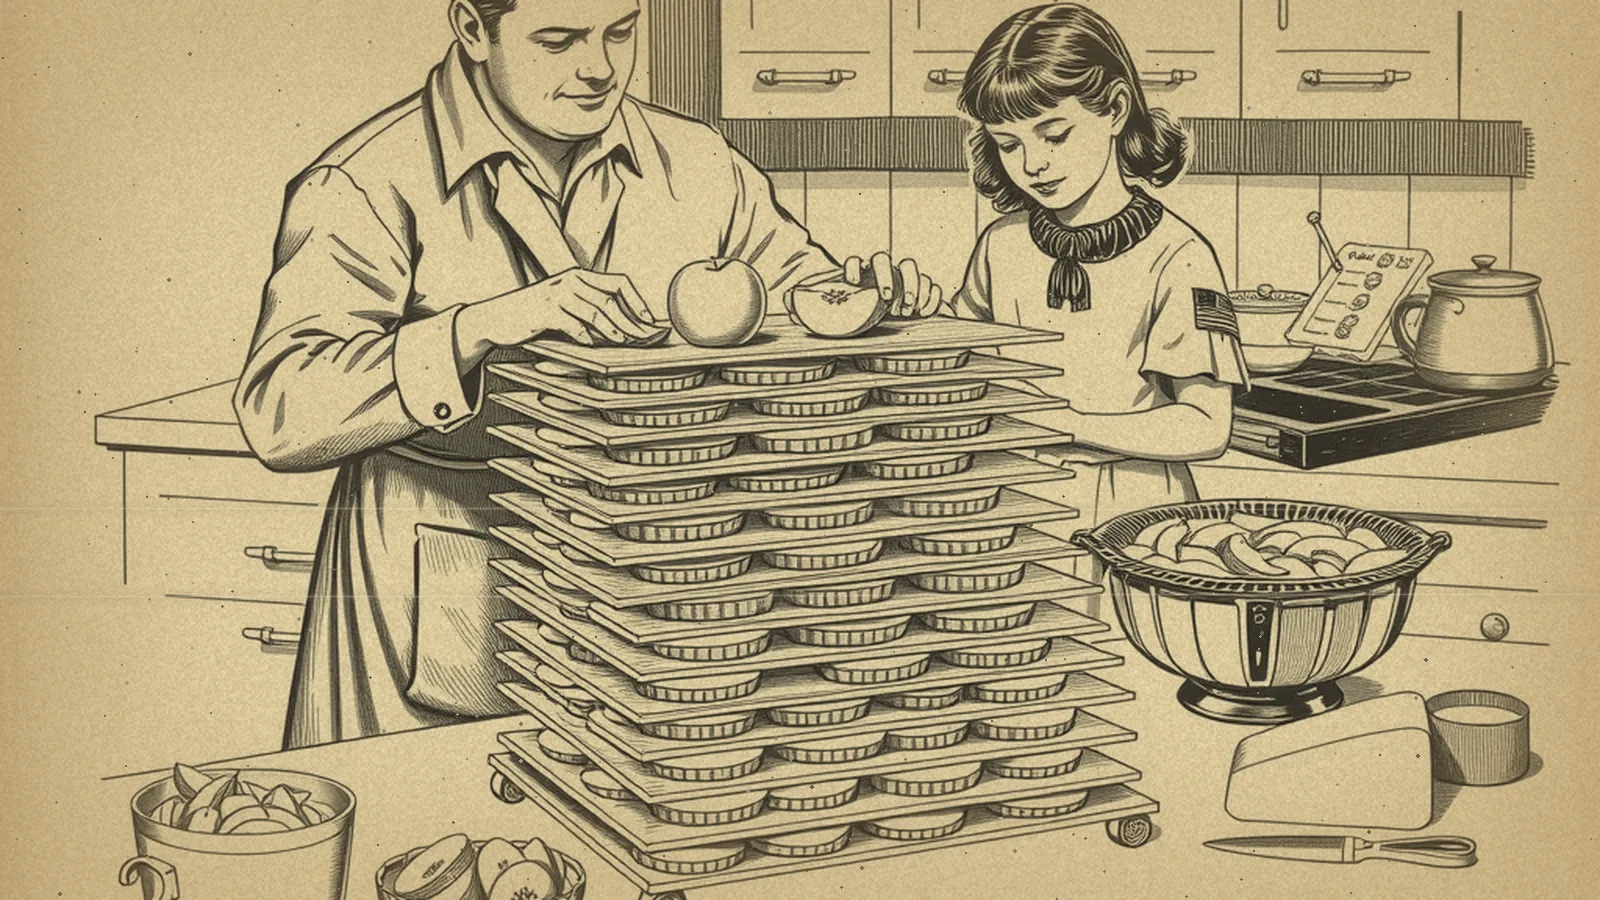
A food dehydrator has a small heater and a fan that circulate warm air over stacked trays. It keeps a steady low temperature for hours and uses relatively little power. If you plan to dry food often, it's worth having.
An oven can work for a tray or two. Use the lowest setting, prop the door open a little so moist air can escape, and check often. Some ovens can't hold a low enough temperature and will cook the food instead of drying it.
Sun drying works for some fruits in hot, dry climates with low humidity, but it's slow and less predictable. It isn't recommended for vegetables or meat.
Whatever you use, follow the manual for your appliance and the temperatures given in a tested recipe. Your local cooperative extension office can share drying guides for specific foods.
Step-by-step: drying apples
Apples are a good first project because they're forgiving and taste great dried.
- Wash and core the apples. Peeling is optional.
- Slice evenly, about the thickness of a pencil. Even slices dry at the same rate.
- Pretreat to prevent browning by dipping slices briefly in a mix of lemon juice and water. This step is for color and flavor.
- Arrange on trays in a single layer with space between pieces.
- Dry at the setting your dehydrator manual gives for fruit, rotating trays now and then.
- Test a cooled slice. It should be leathery and bend without any sticky or wet spots.
- Condition the apples: pack them loosely in a glass jar, close it and shake it daily for about a week. If you see moisture on the glass, put them back in the dehydrator.
Drying vegetables
Most vegetables should be blanched first: briefly boiled or steamed, then cooled in ice water. Blanching helps them keep color and flavor, and they rehydrate better later. Onions, peppers, mushrooms and herbs usually don't need it. Dry vegetables until they're brittle or crisp, which is drier than fruit.
Dried vegetables are great for soups. A handful of dried carrots, onions and peas tossed into broth with rice makes a meal with almost no prep.
Jerky safety
Jerky is where home drying needs the most caution. Raw meat can carry bacteria, and the gentle heat of many dehydrators may not be enough to kill them on its own. Current food-safety guidance is to heat meat to a safe internal temperature as part of the process, either before drying or right after.
To make jerky more safely:
- Start with lean, fresh meat and trim off visible fat
- Keep the meat refrigerated while you slice and marinate it
- Use a tested recipe from the USDA or your extension office, and follow its heating step
- Wash hands, boards and knives well after handling raw meat
- Store finished jerky airtight and use it within the time the recipe suggests
Wild game has its own considerations, so ask your extension office for guidance specific to venison or other game.
Packing and storing dried food
Once food is fully dry and cooled, pack it right away so it doesn't pick up moisture from the air.
- Glass jars with tight lids are great for the pantry and let you see the food.
- Zip-top freezer bags work for short-term use, with the air pressed out.
- Vacuum-sealed bags or foil pouches with oxygen absorbers help for longer storage.
Mark each container with the food and the date. Keep it somewhere cool, dark and dry. Check it now and then for moisture, mold or an off smell, and throw out anything that looks wrong.
Dried food in an evacuation bag
Because it's light, dried fruit and jerky are popular in grab-and-go bags. Pack small portions in sealed bags, and swap them out on the same schedule you check the rest of your gear. Our bug out bag list shows how dried snacks fit alongside water and other essentials. Remember that salty jerky makes you thirsty, so plan for extra water.
How drying fits with other methods
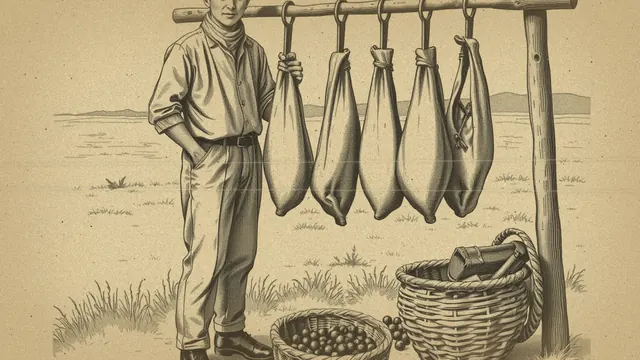
Drying and canning work well together. Dry what's light and simple, and can what's juicy or soup-like. Our home canning basics guide explains when canning makes more sense and which foods need a pressure canner. If you're curious how people dried and stored meat for long trips before modern tools, our guide to pemmican and traditional foods covers that history with modern cautions.
Drying can also stretch a tight food budget. Buying produce in season, when it's cheapest, and drying the extra means less waste. Our guide to food storage on a budget has more ways to build a supply a little at a time.
A weekend plan for a busy household
Picture a single parent in a two-bedroom apartment with a tabletop dehydrator and two kids who love snacks.
- Saturday morning: Slice a bag of apples and a few bananas with the kids helping to arrange trays.
- Saturday afternoon: Let the dehydrator run while the family is out.
- Saturday evening: Test pieces, then start conditioning the fruit in jars.
- Sunday: Blanch and dry a bag of frozen-and-thawed mixed vegetables for soup.
- The next week: Shake the fruit jars daily. Once they pass, mark the dates and shelve them.
The result is a few jars of healthy snacks and a soup starter, made from inexpensive groceries.
Start today
Pick one fruit your household likes and dry a single tray. Write down how long it took and how it tasted. Before you try jerky, look up a tested recipe from your extension office and read the heating step twice. Small batches teach you more than big ones, and nothing gets wasted while you learn. Before buying an expensive kit sold with big promises, our red flags guide can help you judge whether it's worth it.
Want a guided preparedness plan?
Some people like the structure of a paid guide. This button opens a third-party survival or preparedness program from one of our advertising partners. Its claims are its own, not ours, so weigh them against our red flags checklist.
See the partner program →We may be paid when you click. The program shown can change. Read its terms before you buy anything. How this works
Frequently asked questions
Is a dehydrator better than an oven for drying food?
A dehydrator is easier because it holds a steady low heat and moves air evenly, and it uses less energy. An oven can work for small batches if it holds a low setting and you prop the door open slightly for airflow, but it ties up your oven for hours.
How do I make jerky safely at home?
Use lean meat, keep it cold while you prepare it, and follow a tested recipe that heats the meat to a safe internal temperature before or after drying. Many dehydrators don't get hot enough on their own to make meat safe, so check guidance from your local extension office.
How do I know if dried food is dry enough?
Fruits should feel leathery and bend without any beads of moisture, and vegetables should be brittle or crisp. Let a piece cool before testing, and pack fruit loosely in a jar for about a week, shaking daily, to spot any leftover moisture.